Sale!

Xenio CX170 U3-15 Digital Control for KIP and Club Series Sauna Heaters

Original price was: $935.00.Current price is: $98.00.

  • Check Mark Satisfaction Guaranteed
  • Check Mark Easy Returns
  • Check Mark Secure Payments
  • Check Mark Exclusive Deals
GUARANTEED SAFE CHECKOUT
  • Visa Card
  • MasterCard
  • American Express
  • PayPal
SKU: HN590471314 Category:

Harvia Xenio is a control unit with a touch control panel. Xenio provides a modern and subtly stylish user interface for controlling the heart of the sauna, the heater. The stylishly small yet clear touch control panel is easy to install where you want it: in the sauna, the shower room, the dressing room, or even the living room.

The control panel enables you to see with just one look when your sauna is at the right temperature for you. – For controlling electric heater – temperature adjustment range 104194 F (4090 C) – operating time adjustment range: family sauna 16 h, commercial sauna 112 h – pre-setting time adjustment range 012 h – lighting and fan control.

Click Here To Know More About Xenio

  • For controlling electric heater
  • Temperature adjustment range 40110 C
  • Operating time adjustment range:
    family sauna 16 h, commercial sauna 112 h
  • Pre-setting time adjustment range 012 h
  • Lighting and fan control
  • Maximum output 17 kW (can be extended to 34 kW with LTY17 power extension unit)
  • Power unit supply voltage 400 V 3N~

Harvia Xenio control units with a touch control panel

The control panel of the Xenio control unit provides a modern and subtly stylish interface for controlling the heart of the sauna, be it a traditional electric heater, Combi heater with a steamer or infrared radiator. The compact yet clear touch control panel can be surface-mounted in almost any space sauna room, bathroom, dressing room, or even the living room. The control panel shows you when the sauna is at the right temperature for bathing.

What’s Included

  • Digital Control Panel
  • Data Cable
  • Power Unit
  • Temperature Sensor
  • Installation and Operation Manual
  • 1-year Limited Warranty

Features

  • Modern control unit that is precise and easy
  • Stylish touch control panel
  • Comprehensive set of functions: control operating time, temperature, lighting and fan from the control panel
  • Control panel operating temperature range 104-194 F
  • Surface of flush-mounted
  • Installs inside or outside the sauna room
  • Dimensions: 3.3″ W x 0.9″ D x 4.3″ H

Specifications

Model Xenio CX170
User Group Professionals
Control Type Controlled by a stand-alone digital control panel
Installation Orientation Vertically
Color Black
Main Material Steel
Power Unit Supply Voltage 400V
Temperature Adjustment Range C, Min. 40 C
Temperature Adjustment Range C, Max. 110 C
Ambient Temperature min 5 C
Ambient Temperature max 50 C
Control Panel Type Xenio
Use Environment Interior – dry area
Remote Use Options No
Net weight 1.8 kg
Adjustable Temperature Control? Yes
Maximum Time Settings 60 Min
Maximum Temperature Settings 194 F
Construction Material Plastic
Installation Type Wall-Mount or Surface Embedded
Electrical Location Back
Fuel Type / Power Options Yes
Control Unit Cable Length (m) 5 m
Sensor Cable Length (M) 4 m
IP Class IPX3
Electrical Frequency 60 Hz
Supply Cable (400V 3N~) MM2 5 x 2.5 mm2
Electrical Group Options 208VAC, 3ph, 60Hz
EAN 6417659019231
Customs tariff number EU 85371098
ETIM number 17000
ETIM number EC001885
Packaging Materials Cardboard
Package Width 220 mm
Package Depth 400 mm
Gross Weight 4.85 LB (2.2 kg)

Warranty

Documents & Files

  • Harvia Club Owner’s / Operator’s Manual
  • Harvia Xenio CX1770-U1-15 / CX170-U3-15 Owner’s / Operator’s Manual

Videos

Frequently Asked Questions

Have the health effect of sauna use been studied scientifically?

Individual studies have been conducted in Finland and elsewhere in the world, in which the test group has typically consisted of a few dozen people. A study published by the University of Eastern Finland, which found sauna use to be beneficial to the circulatory system and the memory, involved over 2,000 Finnish men and lasted for over 20 years.

Is sauna use always good for you?

Many experts say that if you are able to walk into a sauna by yourself, it is safe for you to use the sauna. However, always keep moderation and good sauna habits in mind. If you do not feel normal or if you have been diagnosed with heart problems, you should first consult your doctor about using the sauna. In general, it can be said that if going to the sauna feels good, then it is good for you. This rule does not apply to joint pains related to rheumatism, as they are often alleviated in the sauna but may come back stronger the next day. You can try to avoid this by cooling yourself properly after the sauna.

From a health point of view, what is the recommended amount of time spent in the sauna?

All sauna use that does not feel good or causes unwanted effects afterwards is excessive. But those who are used to going to the sauna frequently can easily do so as often as every day. In the study published by the University of Eastern Finland, the greatest health effects were observed when the sauna was used 4 to 7 times per week for approximately 20 minutes at a time.

I have been diagnosed with high blood pressure. Is it safe for me to use the sauna?

The heat in the sauna accelerates the heart rate and increases the amount of blood pumped through the surface blood vessels in particular. Similarly, the blood vessels expand, which causes blood pressure to decrease. This decrease in blood pressure is temporary and only lasts for a few hours. However, the warming of the tissues apparently releases substances which boost the normal functioning of the arteries and blood vessels. In other words, moderate sauna use can usually be considered to be safe, but as with all matters related to the circulatory system, you should always consult with your own doctor whether sauna use is recommended.

Does sauna use alleviate asthma?

Some people suffering from asthma feel that it is easier for them to breathe in the moist steam, while others do not. It has no effect on the disease itself.

I would like to use the sauna every day, but some say that it dries the skin. Is this true?

On the contrary, going to the sauna is good for your skin. The increase in surface blood flow caused by the heat transports building materials to the skins cells, helping them regenerate and remove metabolic wastes more effectively. Healthy and clean skin retains moisture better and stays elastic.

Can you cure a cold in the sauna?

Having a cold and a fever means that there are viruses in the blood. For example, exercise is not recommended when sick, as exertion may lead these viruses to cause a serious infection in the heart. And as the effects of sauna use to the heart are similar to the effects of exercise, sauna use is not recommended for someone with a cold. By themselves, a stuffy nose or a sore throat are not usually obstacles to sauna use.

Does going to the sauna help with sleep problems?

In the sauna, the heart rate may increase to up to 150 beats per minute, so sauna goers may not necessarily feel sleepy immediately afterwards. But when the body begins to cool down, hormones are released that make it easier to fall asleep. Studies have also found that sleep may be deeper than normal after sauna use. You can only find the manner of sauna use suitable for you by trying.

Should I go to the sauna after exercising?

Many athletes think that going to the sauna helps to remove lactic acids that have accumulated in the muscles. However, as heat directs blood flow to the surface blood vessels and away from the muscles and organs, sauna use may not be beneficial to muscles in this sense. Nevertheless, you should take advantage of the moments spent in the sauna by stretching your muscles and maintaining your joints ranges of motion. It has also been noted that heat therapy performed before exercising may reduce muscle pains caused by the workout.

Designing And Building A Sauna

How do I design and build a sauna?

These instructions are designed to give you basic information about the structure and building stages of a sauna. In these instructions, the sauna is built into a ready-made room with walls made of concrete blocks and a tiled floor. The ventilation system is mechanical. The walls are panelled throughout in order to keep the heater power at a moderate level. However, a glass door is installed when determining the right heater power level, the door must be taken into account as 1.5 m3 of additional room volume.

Planning Stage

Requirements Set By The Heater

  • Carefully read the heater installation instructions, especially the safety distances. No combustible materials may be located inside the indicated safety distances. Not adhering to the safety distances causes a fire hazard. The safety distances of a wood-heated stove can be reduced with a protective sheath (see the stove installation instructions).
  • If the electric heater features an external sensor, you must be able to place it precisely as prescribed in the installation instructions.
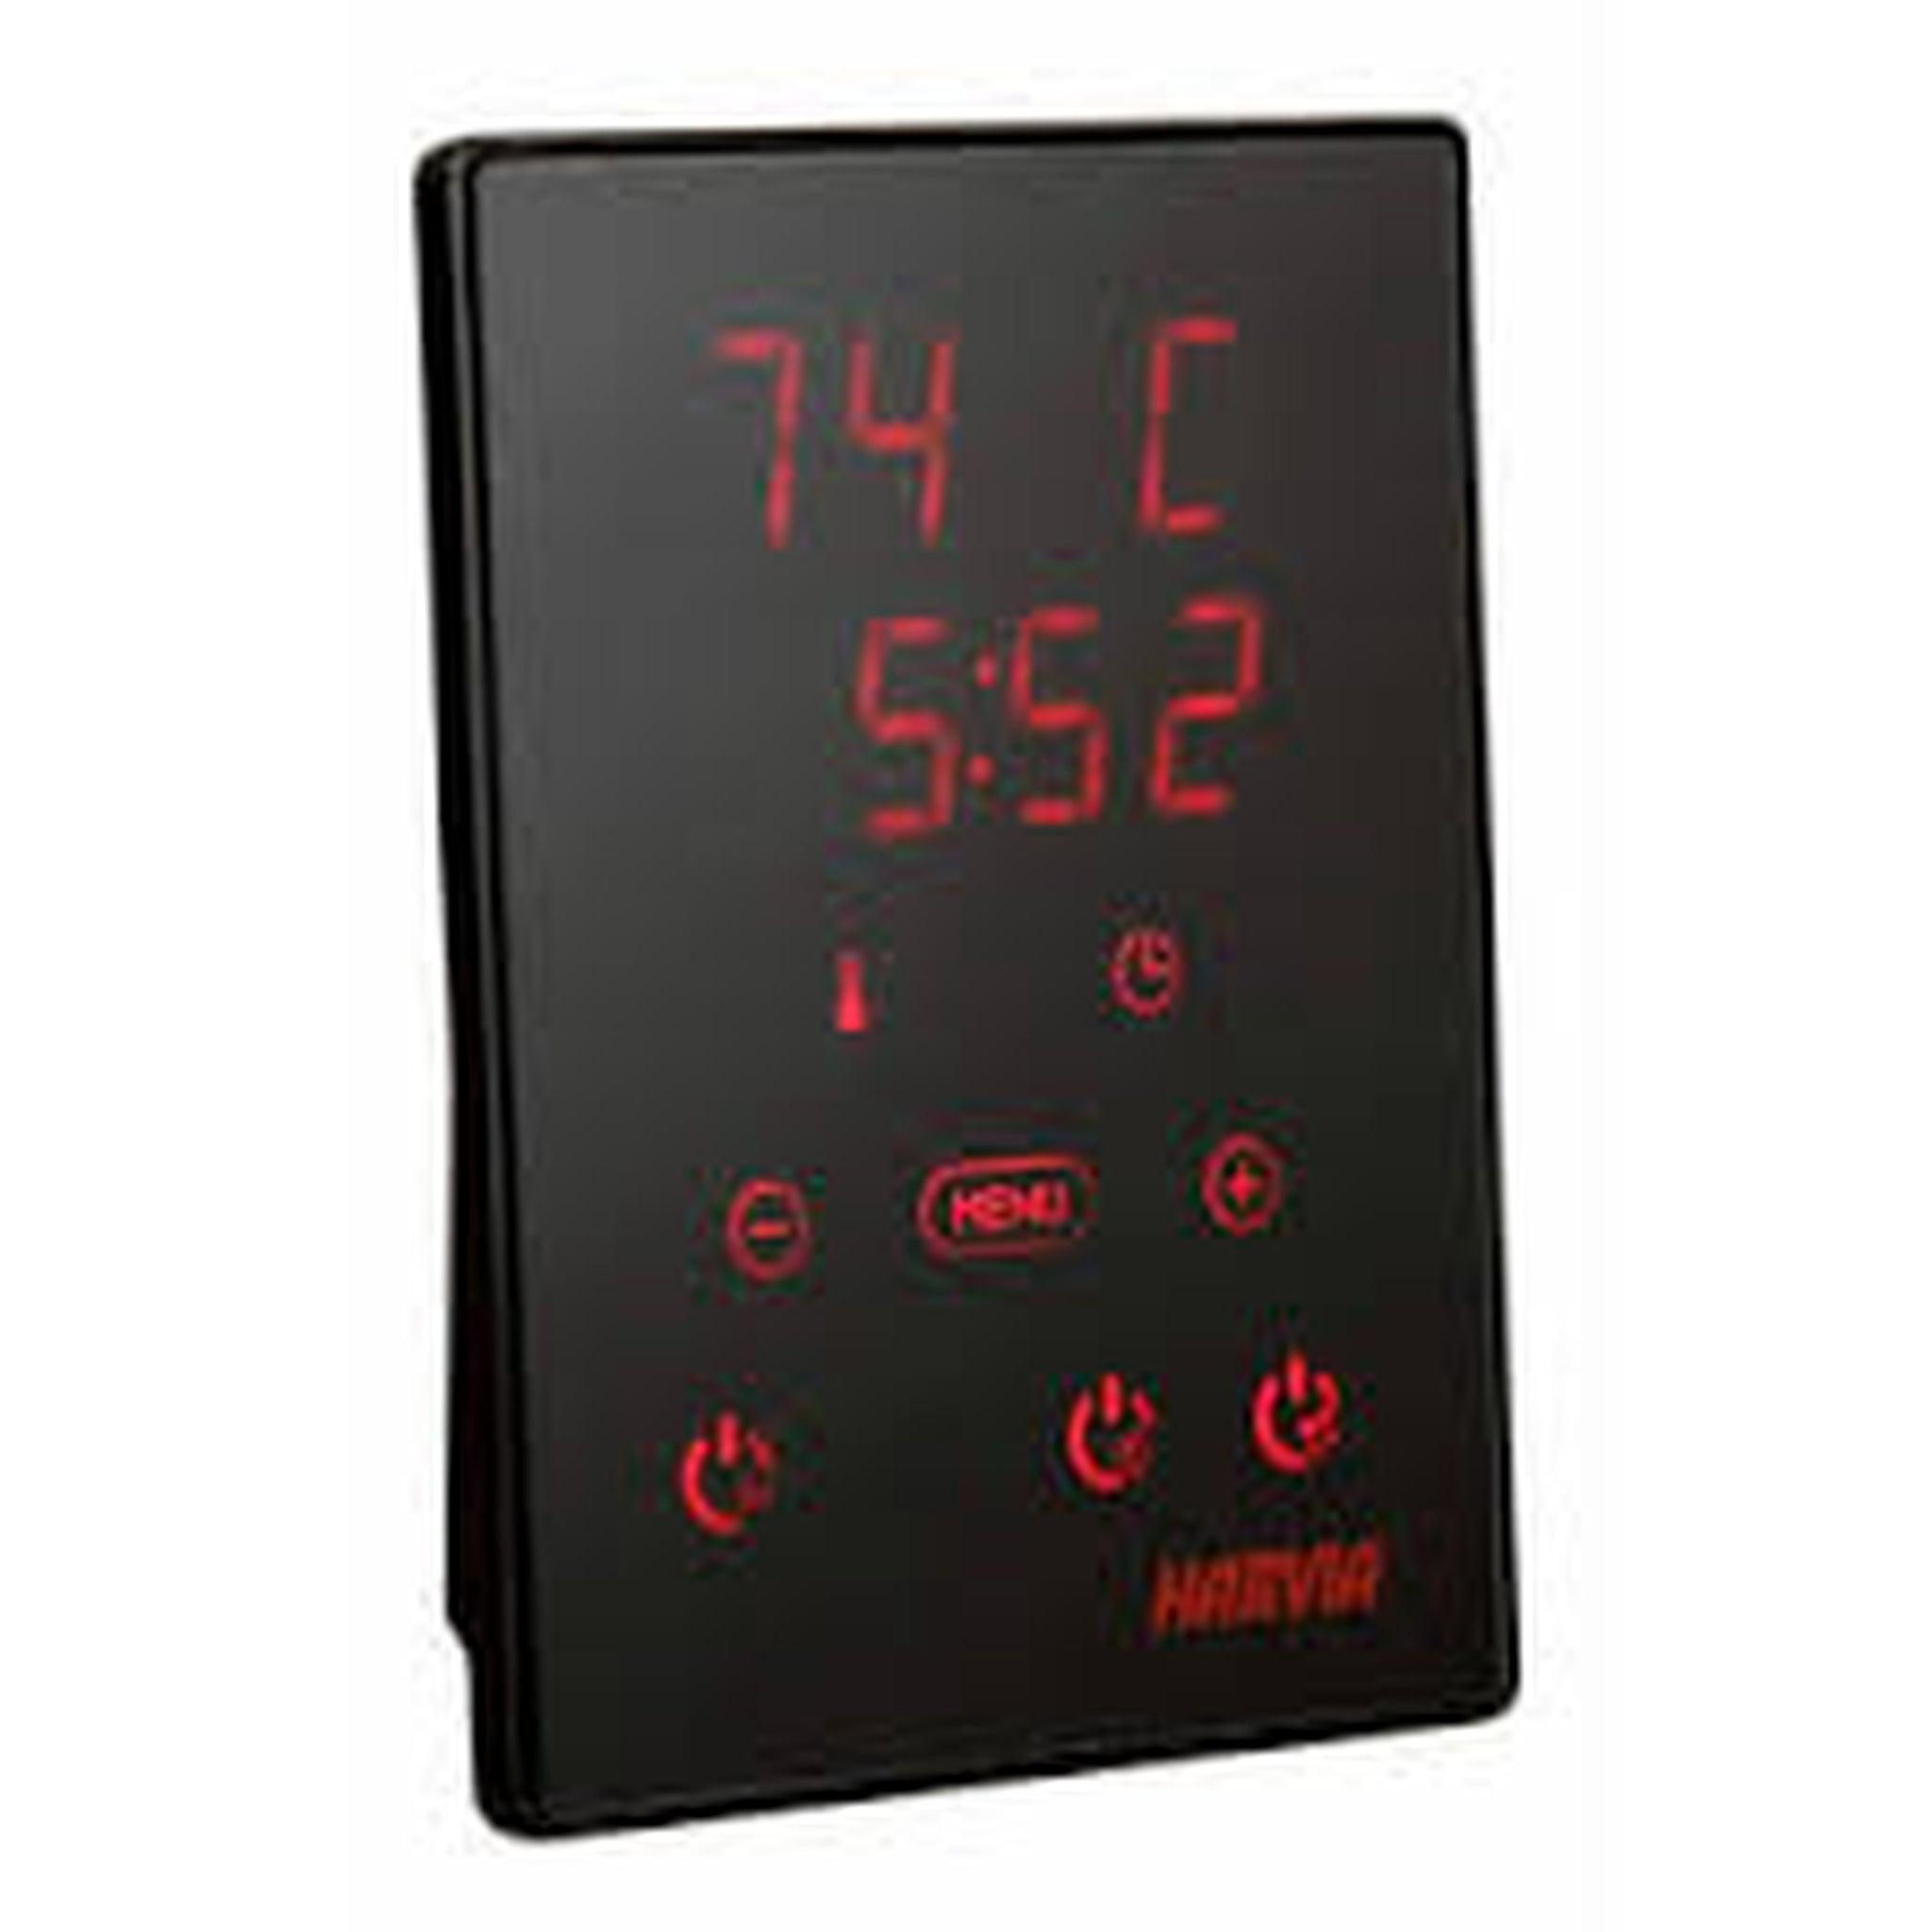
  • If you have chosen a Combi heater with a steamer, the sauna room must have a floor drain. If you choose a Combi model with automated water dispensing, there must be a water supply near the heater. Furthermore, when planning the electrical wiring, it must be taken into consideration that Combi heaters are always controlled with a separate control panel.

Cables

Familiarise yourself with the wiring required by the lights, the heater and the control panel or unit and decide whether you want to have the cables under or on the panelling boards.

Sauna Decoration

  • These instructions describe the installation of straight Formula benches. Harvia offers a wide selection of bench models.
  • Note that the bench supports require reinforcements in the walls. The locations of the supports depend on the chosen bench model.

Floor And Ventilation

Floor

Waterproof the floor in accordance with building regulations. When selecting the flooring material, note that water thrown onto the heater washes off eroded stone that may stain white materials. Therefore, we recommend choosing a dark flooring. Pillar heaters must always be installed onto a non-combustible floor, as hot stone fragments may fall through the steel frame.

The flooring material must also cover 1020 cm (3.93″ – 7.87″) of the walls. You can attach the material either directly onto the wall or onto plywood attached to the wall.

Ventilation

A. Placement of the supply air vent. If mechanical exhaust ventilation is used, place the supply air vent above the heater. If gravity exhaust ventilation is used, place the supply air vent below or next to the heater. The diameter of the supply air pipe must be 50100 mm.

Heaters with a separate temperature sensor: the supply air vent of the sauna must not be near the temperature sensor!

B. Exhaust air vent. Place the exhaust air vent near the floor, as far away from the heater as possible. The diameter of the exhaust air pipe should be twice the diameter of the supply air pipe. If the exhaust air vent is in the washroom, the gap underneath the sauna door must be at least 100 mm(3.93″). Mechanical exhaust ventilation must therefore be used.

C. Optional vent for drying (closed during heating and bathing). The sauna can also be dried by leaving the door open after bathing.

Framing

  • Attach framing studs (50 x 50 mm) to the walls. Space the studs by 600 mm (23.62″) or in accordance with the width of the insulation material.
  • Attach the ceiling frames to the wall frames. The room height of a sauna is typically 2,1002,300 mm. The minimum height depends on the heater. The distance between the upper bench and the ceiling should not exceed 1,200 mm (47.24″).

Heat Insulation

Set the insulation materials between the framing studs. Make sure that there are no gaps in the insulation. The ceiling insulation is a particularly significant factor in energy efficiency, so install a double insulation (at least 100 mm / 3.93″) to the ceiling.

Humidity Proofing (Aluminium Foil)

The purpose of aluminium foil used as humidity proofing is to keep the humidity inside the sauna. The humidity proofing must be sealed throughout in order to prevent humidity from entering the structures. The aluminium foil is attached sparsely with staples, for example. Set the shiny side of the foil towards the sauna interior.

  • First, attach the aluminium foil to the ceiling and fold the edges onto the walls, so that the ceiling and wall foils overlap well. Tape the seams carefully with aluminium tape.
  • Install the aluminium foil onto the walls and tape the seams. We do not recommend placing seams in corners, as this makes the taping more difficult.
  • Tape the lower edges of the aluminium foil onto the upper edge of the floor tiling or onto the waterproofing.
  • Tape all feed-through openings so that they are sealed!

Nailing Battens, Bench Supports And Heater Support

  • Attach nailing battens (e.g. 22 x 50 mm) onto the ceiling where the framing studs are placed.
  • Attach battens onto the walls. Measure the battens so that the upper ends are approximately 20 mm (0.78″) below the ceiling battens. The battens must be installed vertically to allow air to travel up from the bottom behind the panelling boards. If you wish to install the panelling boards vertically, install another set of battens horizontally onto the vertical battens.
  • Check the bench heights from your bench plan and install reinforcements into the planned locations on the bench support attachments. Build the reinforcements from wood that matches the thickness of the nailing battens. The width can be 90 mm(3.54″), for example. Attach the reinforcements to the frame.
  • If you have chosen a wall-mounted heater, install a support (A) onto the wall for the heater mounting screws. The support can be made of plywood, for example. See the heaters instruction manual for the locations of the mounting screws.
  • Make sure that the cables are taken into consideration. (See section 1. Planning stage.)

Panelling Boards

  • Nail the panelling boards onto the nailing battens. Begin from the ceiling.
  • Nail a few rows of panelling boards onto one wall and then move on to the next wall. By going around like this, you can make sure that any width differences in the panelling boards do not affect the end result.
  • Drill holes for the electrical wires into the boards where needed, and insert the wires through the holes.
  • Leave an air gap of a few millimetres between the upper edge of the panelling boards and the ceiling.

Finishing The Interior Surface

Attach the air vents.

Bench Supports And Light

Install the bench supports in accordance with the bench plan. We recommend installing the light at this stage (if necessary, turn to a professional electrical engineer).

Benches

Lift the benches onto the bench supports. Follow the installation instructions supplied with the benches.

Heater

Install and connect the heater in accordance with the installation instructions.

I am about to start panelling my sauna what do I need to take into account?

1. If you have selected a wall-mounted heater, there needs to be a supporting structure for it behind the panelling boards. The mounting screws will not hold on panelling boards alone and the heater may fall onto the floor. In practice, sturdy boards for the mounting screws or a similar solution will suffice as a supporting structure. See the heaters instruction manual for the locations of the mounting screws.

2. Familiarise yourself with the wiring required by the lights, the heater and the control unit (if one is used) and decide whether you want to have the cables under or on the panelling boards.

  • A. Wires for the temperature and/or humidity sensors of the heater
  • B. Electrical wiring for the heater
  • C. Wiring for the sauna lights
  • D. Any other wiring (special lights etc.)

3. Note that the benches require supports on the walls. There must be sturdy supporting structures behind the panelling boards for the bench supports.

Ventilation in the sauna

Sauna With An Electric Heater

The air in the sauna should change six times per hour.

A. Placement of the supply air vent. If mechanical exhaust ventilation is used, place the supply air vent above the heater. If gravity exhaust ventilation is used, place the supply air vent below or next to the heater. The diameter of the supply air pipe must be 50100 mm.Heaters with a separate temperature sensor: the supply air vent of the sauna must not be near the temperature sensor! For more detailed instructions, see the heater installation instructions.

B. Exhaust air vent. Place the exhaust air vent near the floor, as far away from the heater as possible. The diameter of the exhaust air pipe should be twice the diameter of the supply air pipe.

C. Optional vent for drying (closed during heating and bathing). The sauna can also be dried by leaving the door open after bathing.

D. If the exhaust air vent is in the washroom, the gap underneath the sauna door must be at least 100 mm (3.93″). Mechanical exhaust ventilation must be used.

Sauna With a Wood-heated Stove

Gravity Ventilation

A. The fresh air inlet must be placed close to the floor near the stove and

B. its outlet should be as far away from the stove as possible, and near the roof. The stove itself circulates air effectively; the purpose of the outlet is mainly to remove humidity from the sauna after bathing.

Mechanical ventilation

A. The fresh air inlet must be approx. 500 mm (19.68″) above the stove and

B. the outlet should be close to the floor, e.g. under the benches.

How do I select the correct heater power?

The volume and structures of the sauna affect the selection of heater power. An average of 1 kW of heater power is required for each cubic metre of sauna volume. The power requiremen

Reviews

There are no reviews yet.

Be the first to review “Xenio CX170 U3-15 Digital Control for KIP and Club Series Sauna Heaters”

Your email address will not be published. Required fields are marked *